$ .../bin/add-user-keycloak.sh -r master -u <username> -p <password>Server Initialization
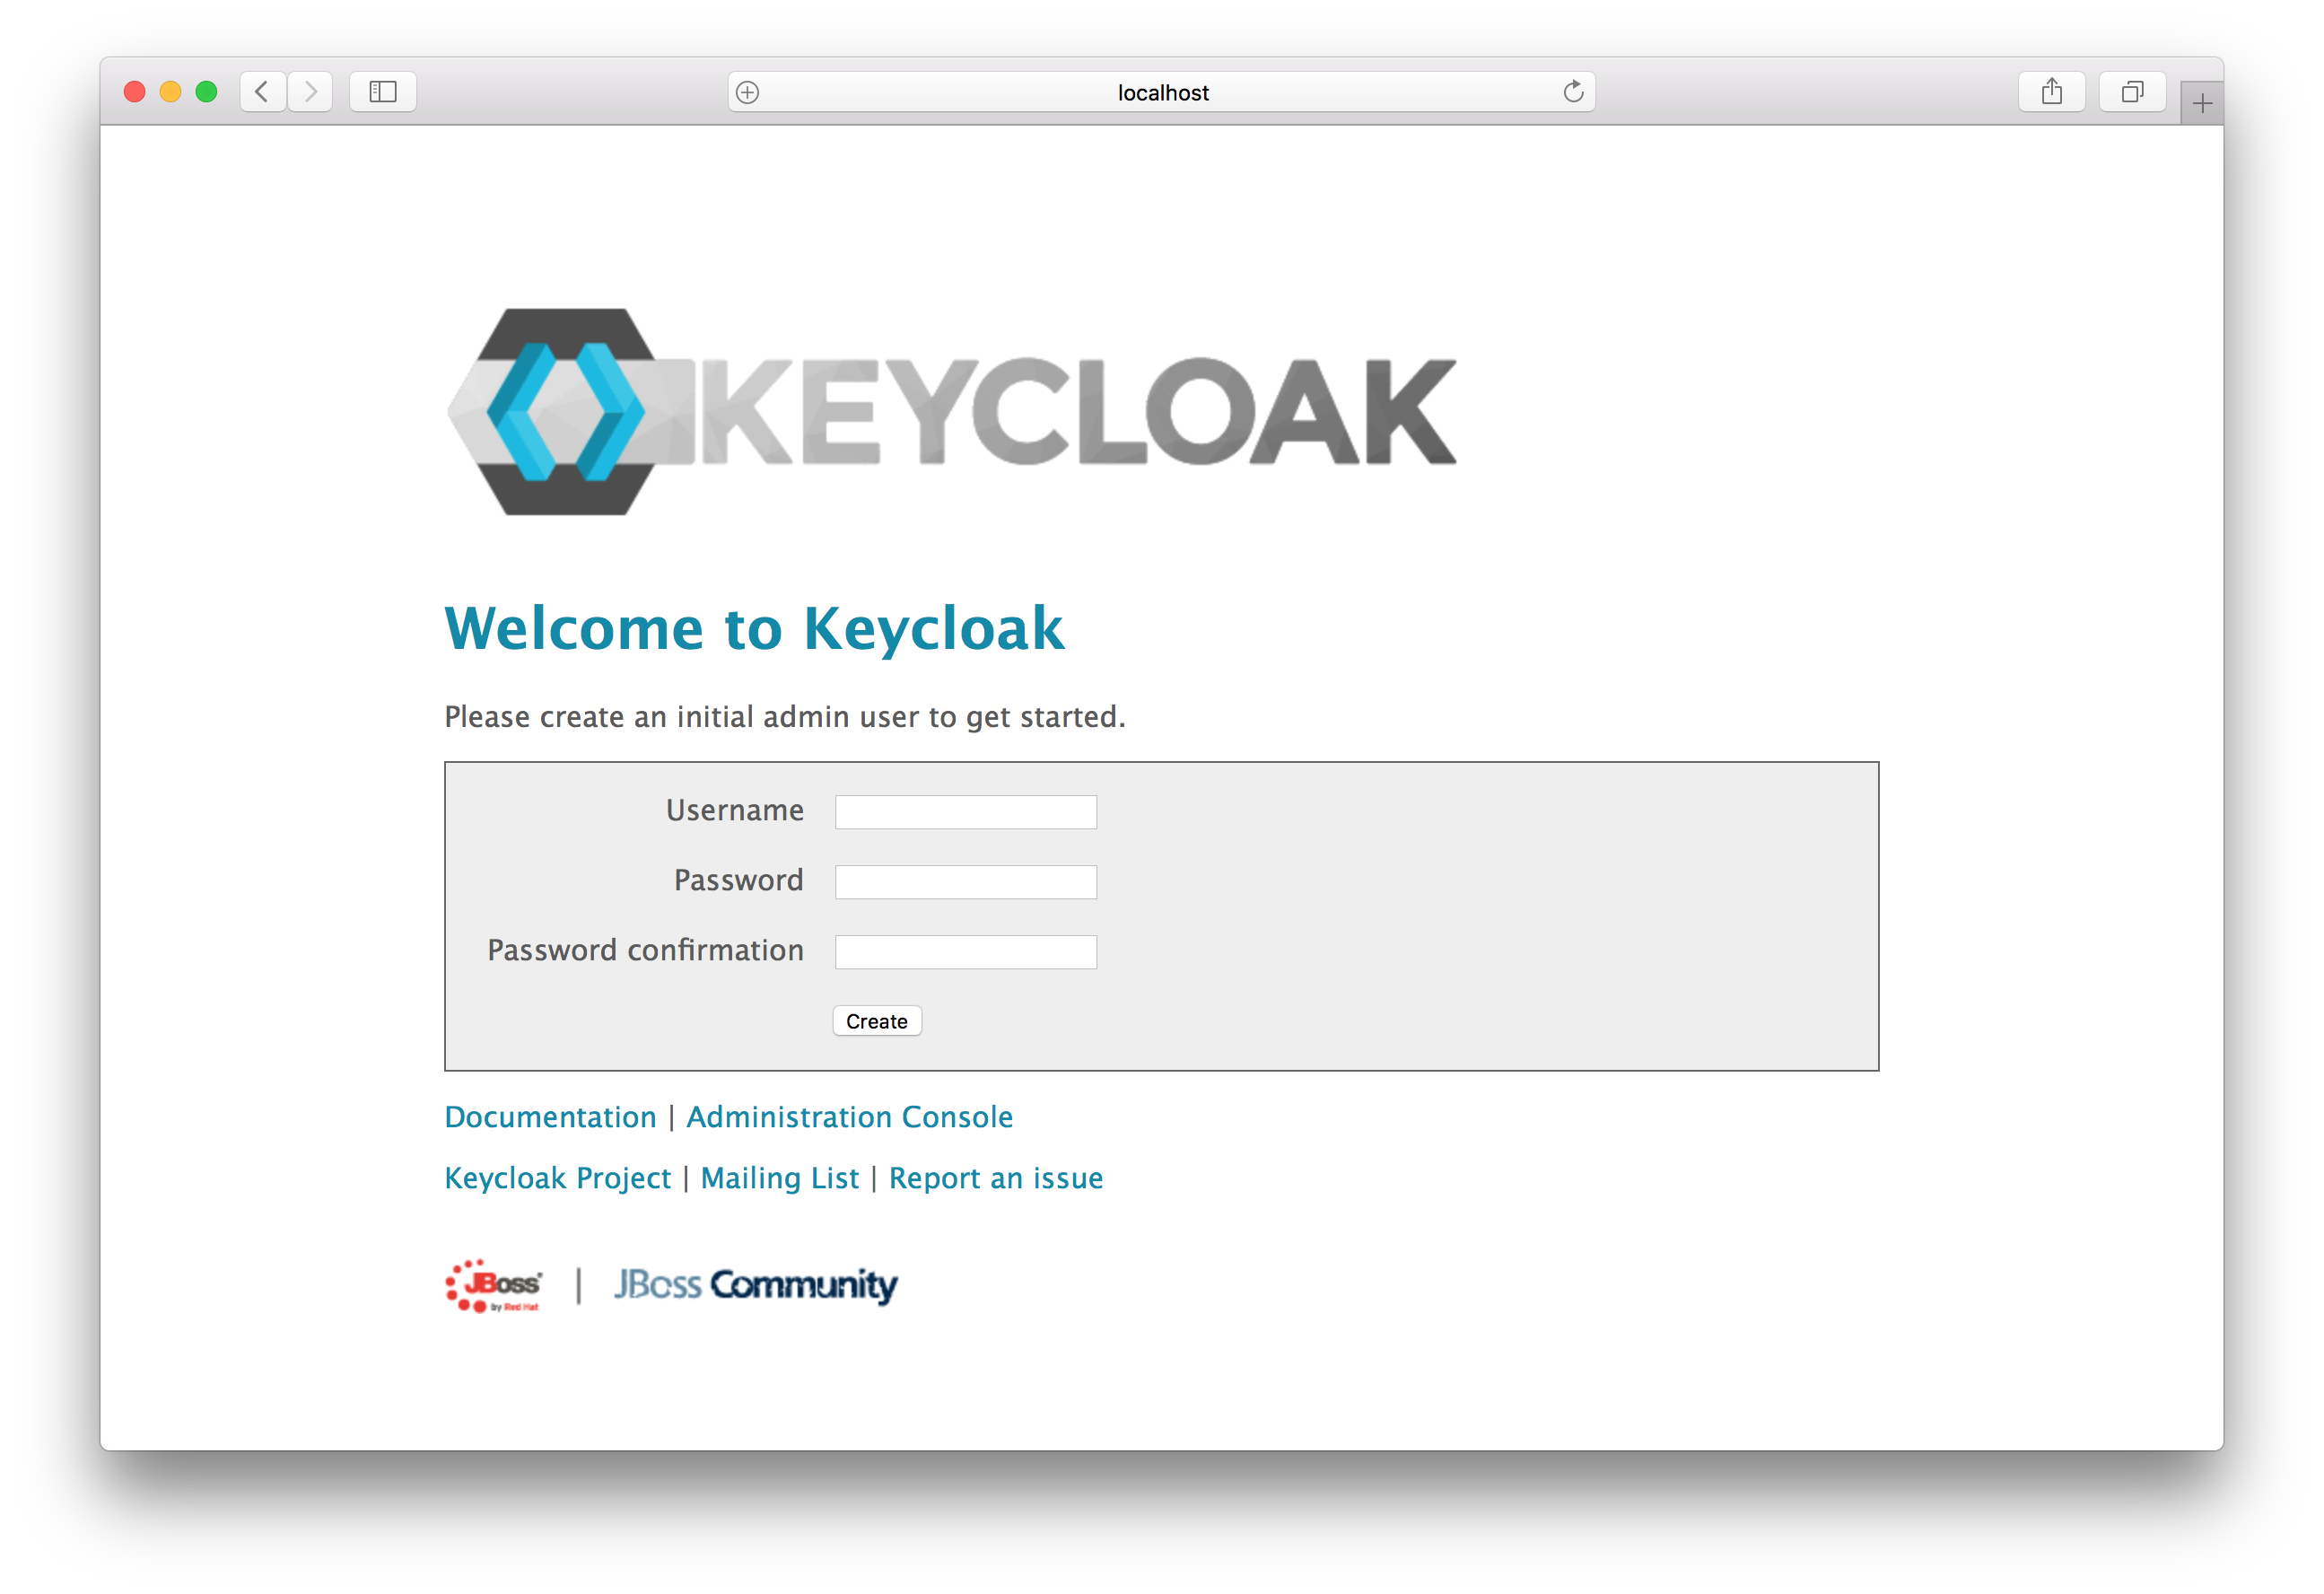
After performing all the installation and configuration tasks defined in the Server Installation and Configuration, you will need to create an initial admin account. Keycloak does not have any configured admin account out of the box. This account will allow you to create an admin that can log into the master realm’s administration console so that you can start creating realms, users and registering applications to be secured by Keycloak.
If your
server is accessible from localhost, you can boot it up and create this admin user by going to the http://localhost:8080/auth URL.

Simply specify the username and password you want for this initial admin.
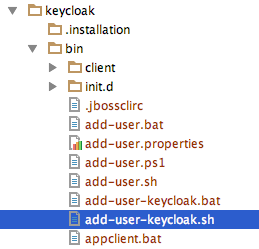
If you cannot access the server via a localhost address, or just want to provision Keycloak from the command line
you can do this with the …/bin/add-user-keycloak script.

The parameters are a little different depending if you are using the standalone operation mode or domain operation mode. For standalone mode, here is how you use the script.
> ...\bin\add-user-keycloak.bat -r master -u <username> -p <password>For domain mode, you have to point the script to one of your server hosts using the -sc switch.
$ .../bin/add-user-keycloak.sh --sc domain/servers/server-one/configuration -r master -u <username> -p <password>> ...\bin\add-user-keycloak.bat --sc domain/servers/server-one/configuration -r master -u <username> -p <password>