OIDC Token and SAML Assertion Mappings
Applications that receive ID Tokens, Access Tokens, or SAML assertions may need or want different user metadata and roles. Keycloak allows you to define what exactly is transferred. You can hardcode roles, claims and custom attributes. You can pull user metadata into a token or assertion. You can rename roles. Basically you have a lot of control of what exactly goes back to the client.
Within the Admin Console, if you go to an application you’ve registered, you’ll see a Mappers tab. Here’s one for
an OIDC based client.

Each client has several built-in mappers that are created for it by default. They map things like, for example, email address to
a specific claim in the identity and access token. Their function should each be self explanatory from their name. There
are additional pre-configured mappers that are not attached to the client that you can add
by clicking the Add Builtin button.
Each mapper has common settings as well as additional ones depending on which type of mapper you are adding. Click the Edit button
next to one of the mappers in the list to get to the config screen.
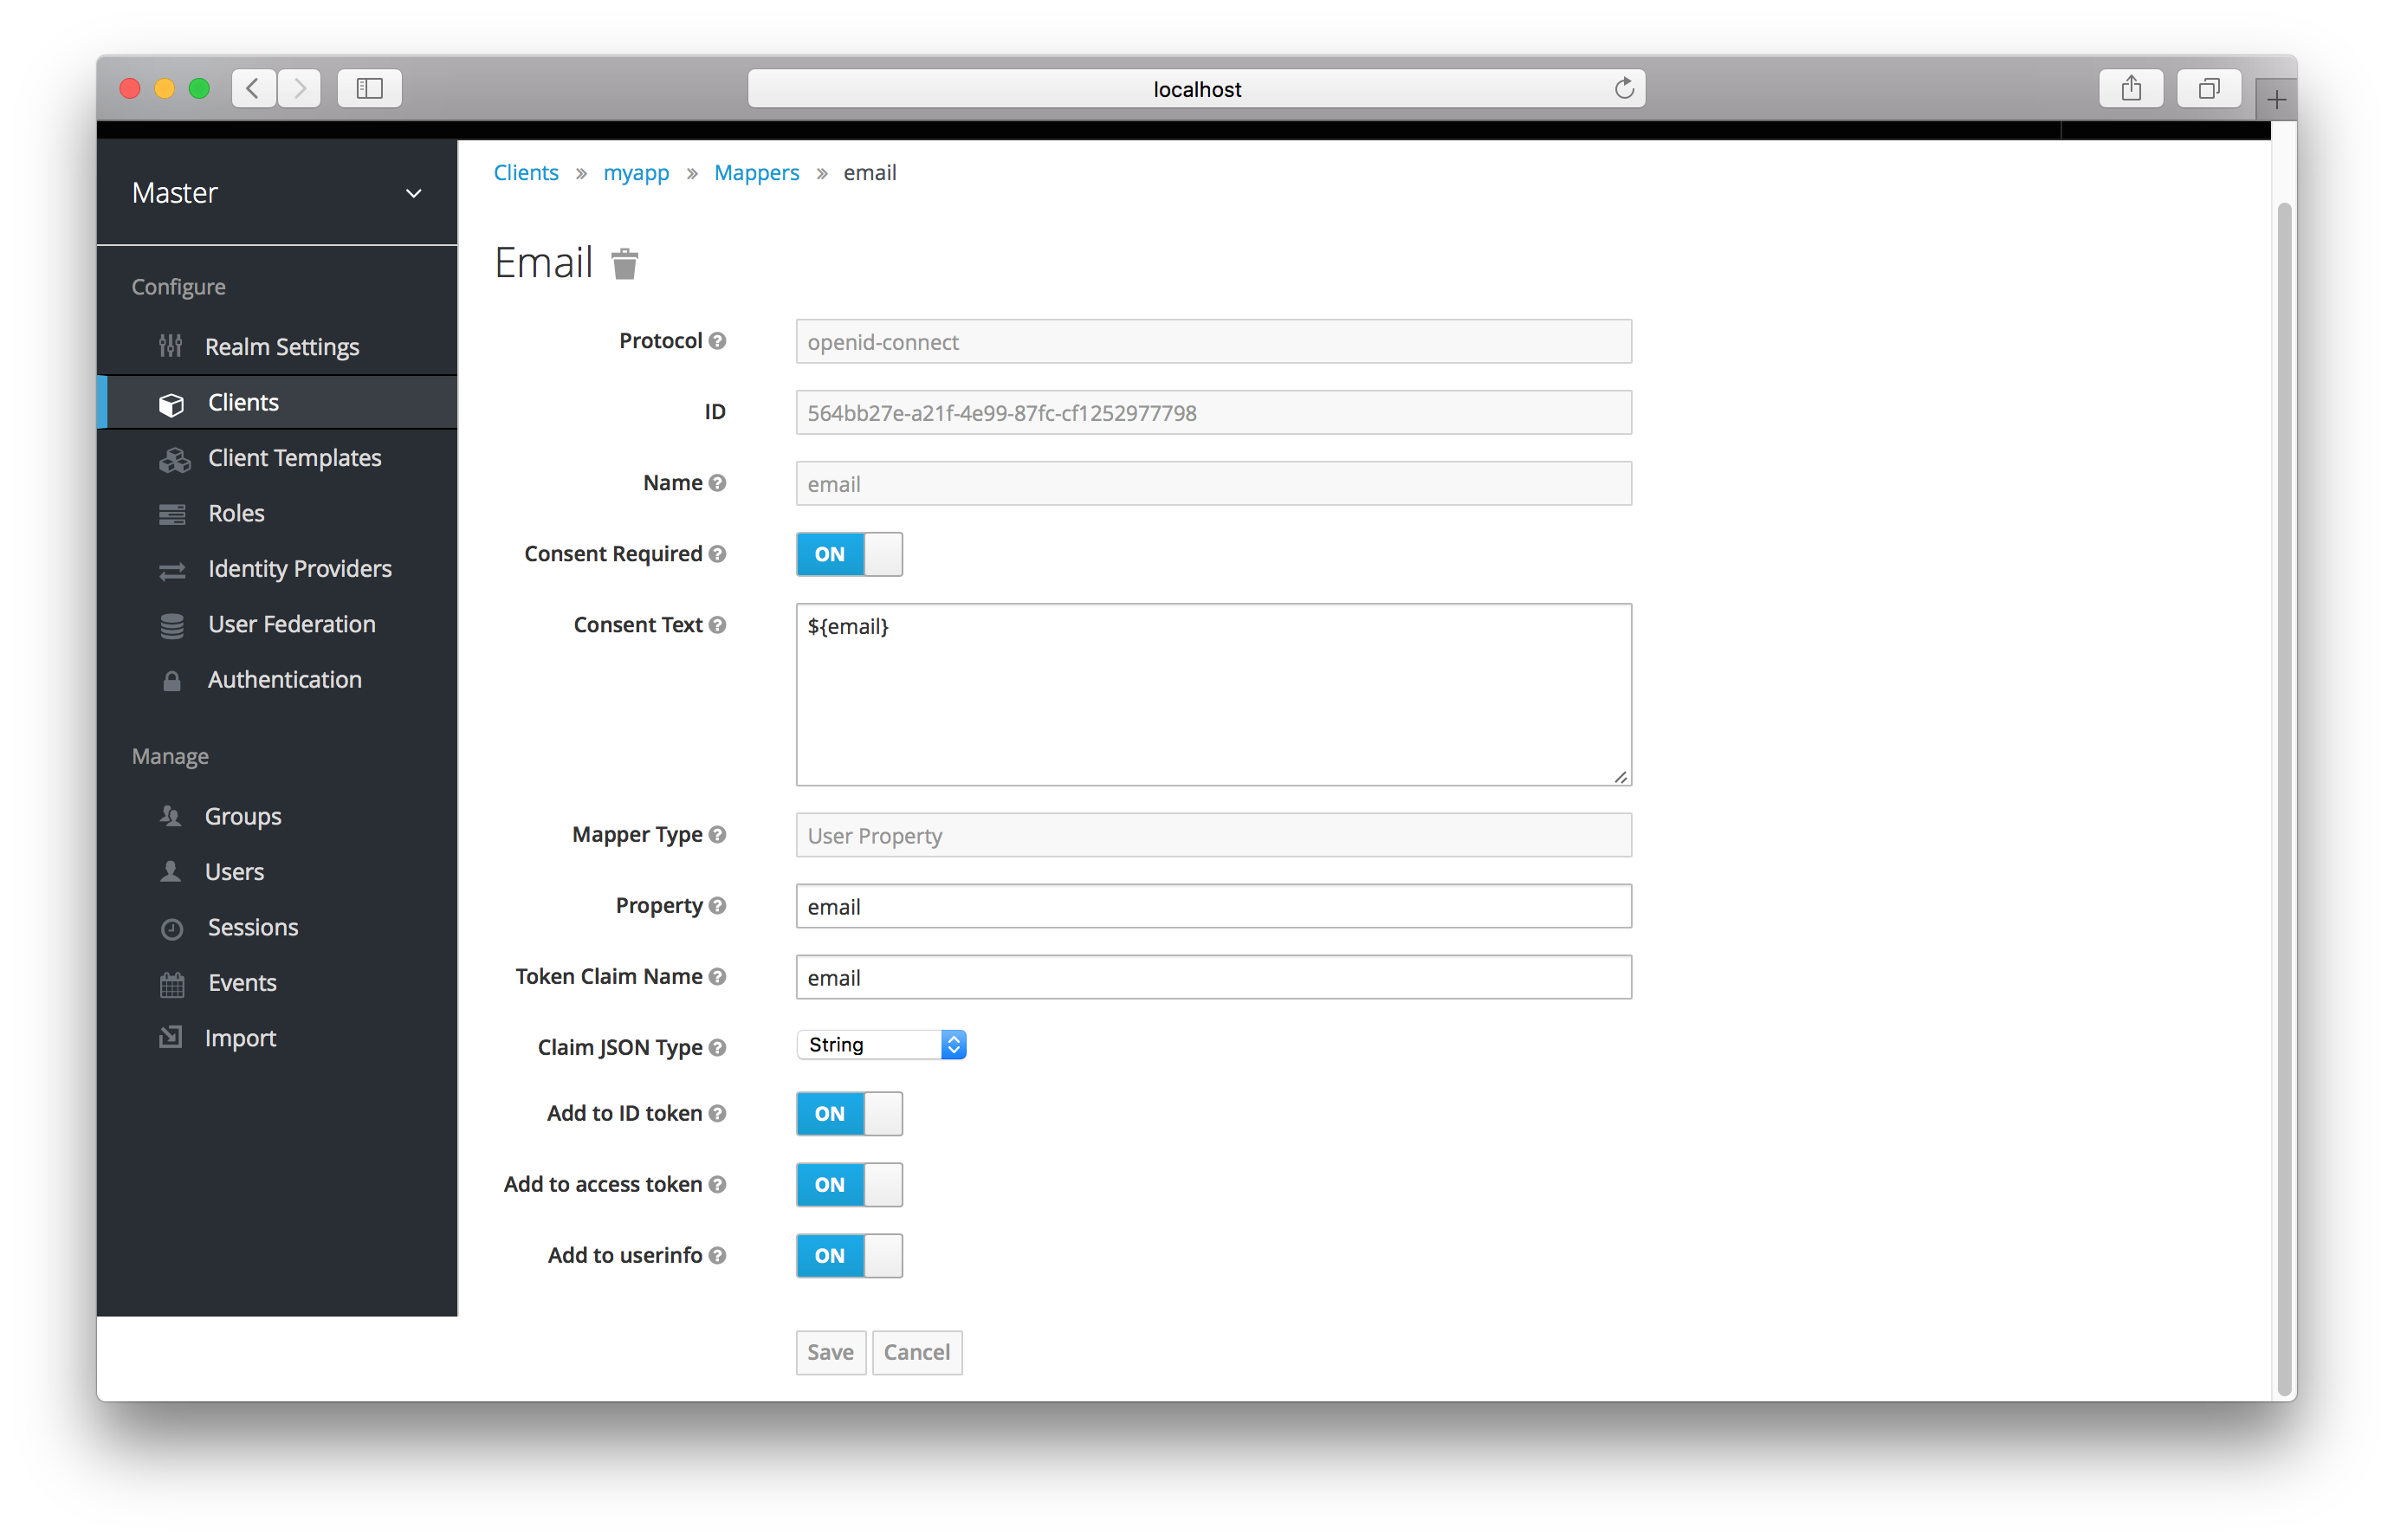
The best way to learn about a config option is to hover over its tooltip. There are a few config options that are common to all mappers:
- Consent Required
-
If your client requires consent, this mapper will be displayed on the consent screen shown to the user.
- Consent Text
-
If your client requires consent and the
Consentswitch is on, this is the text that will be displayed by the user. The value for this text is localizable by specifying a substitution variable with${var-name}strings. The localized value is then configured within property files in your theme. See the Server Development for more information on localization.
Most OIDC mappers also allow you to control where the claim gets put. You can opt to include or exclude the claim from both the
id and access tokens by fiddling with the Add to ID token and Add to access token switches.
Finally, you can also add other mapper types. If you go back to the Mappers tab, click the Create button.
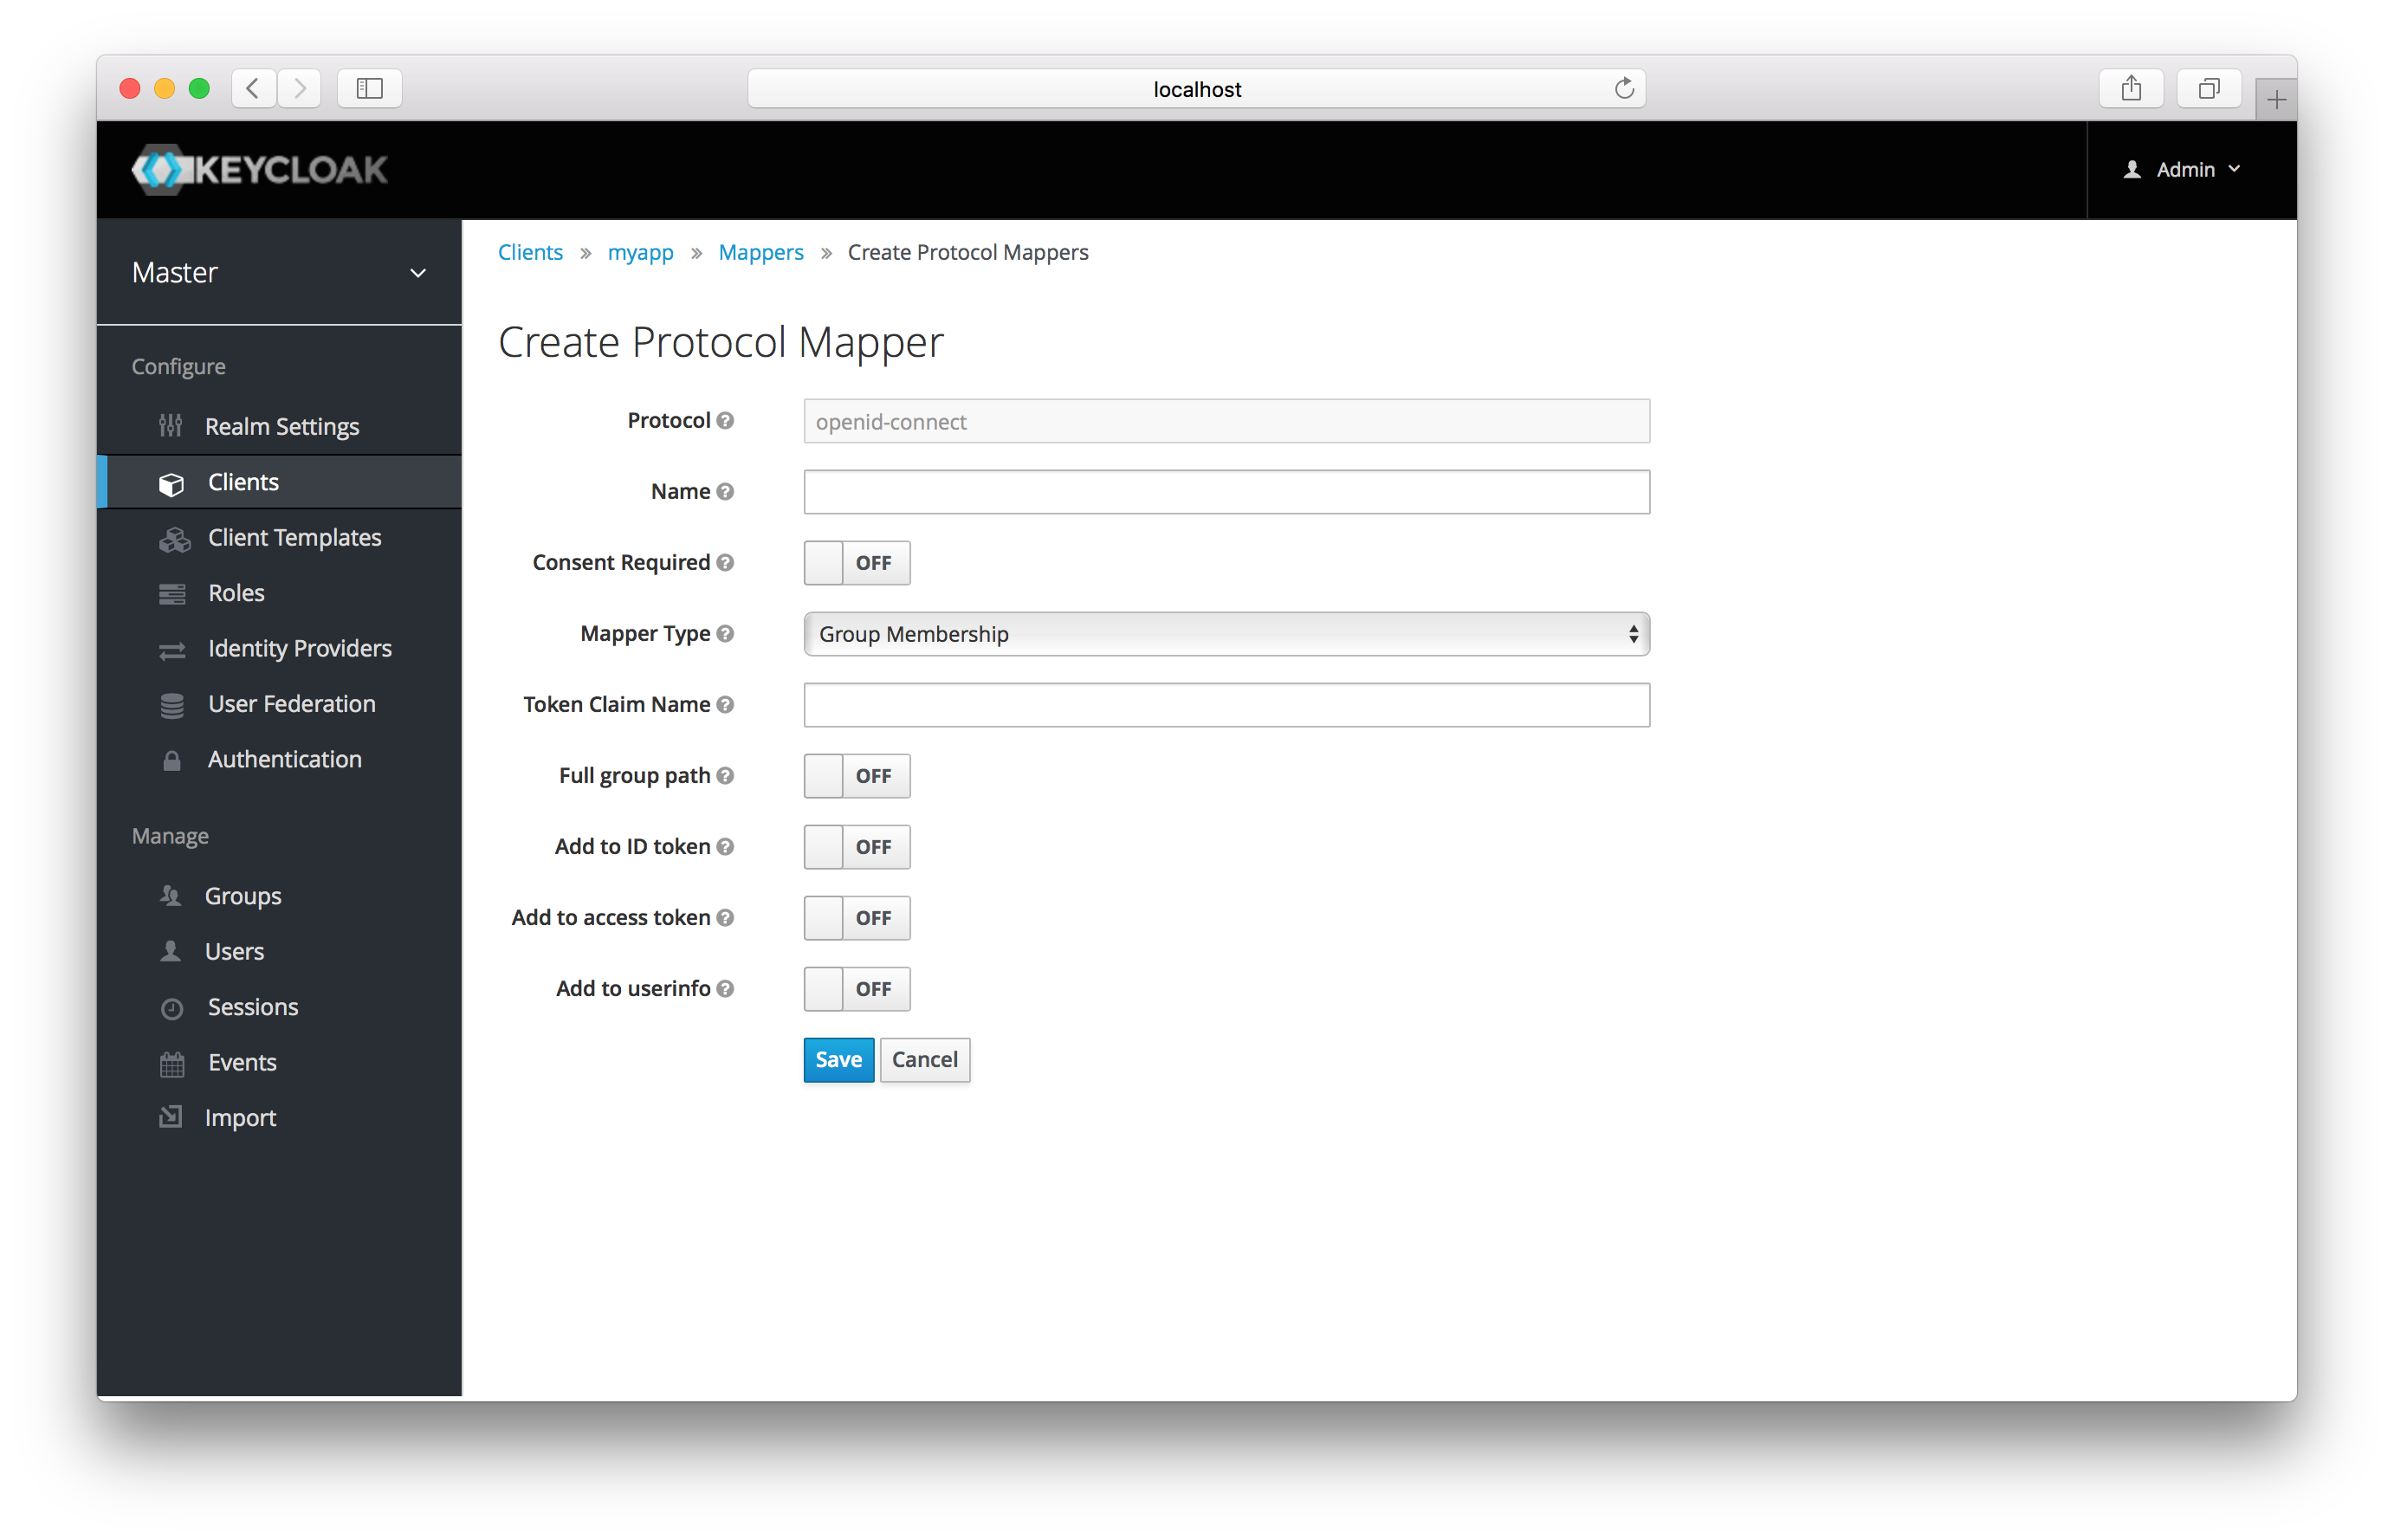
Pick a Mapper Type from the list box. If you hover over the tooltip, you’ll see a description of what that mapper type does.
Different config parameters will appear for different mapper types.