Creating and Registering the Client
The next step you have to do is to define and register the client in the Keycloak Admin Console.
-
Log into the Admin Console with your admin account as you did in previous tutorials.
-
In the top left dropdown menu select and manage the
demorealm. ClickClientsin the left side menu. The Clients page opens.Clients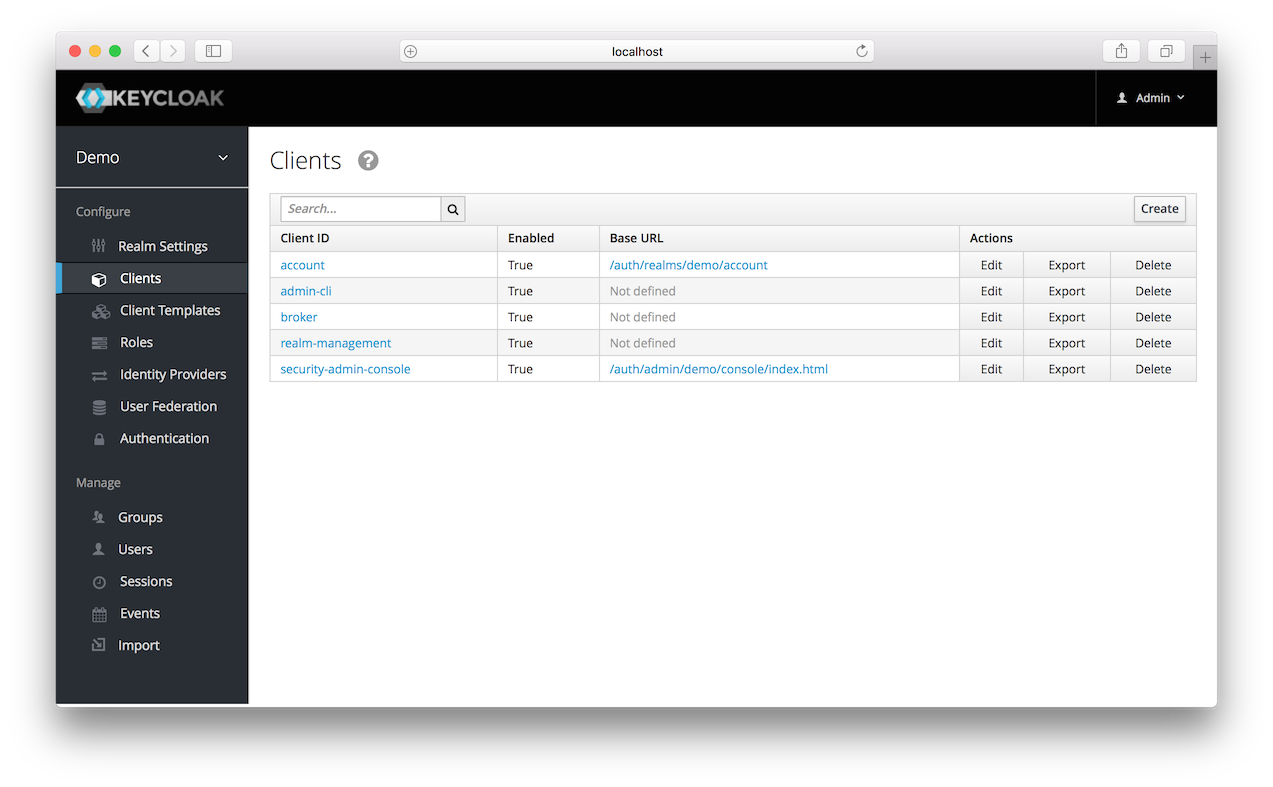
-
On the right click Create.
-
Complete the fields as shown below:
Add Client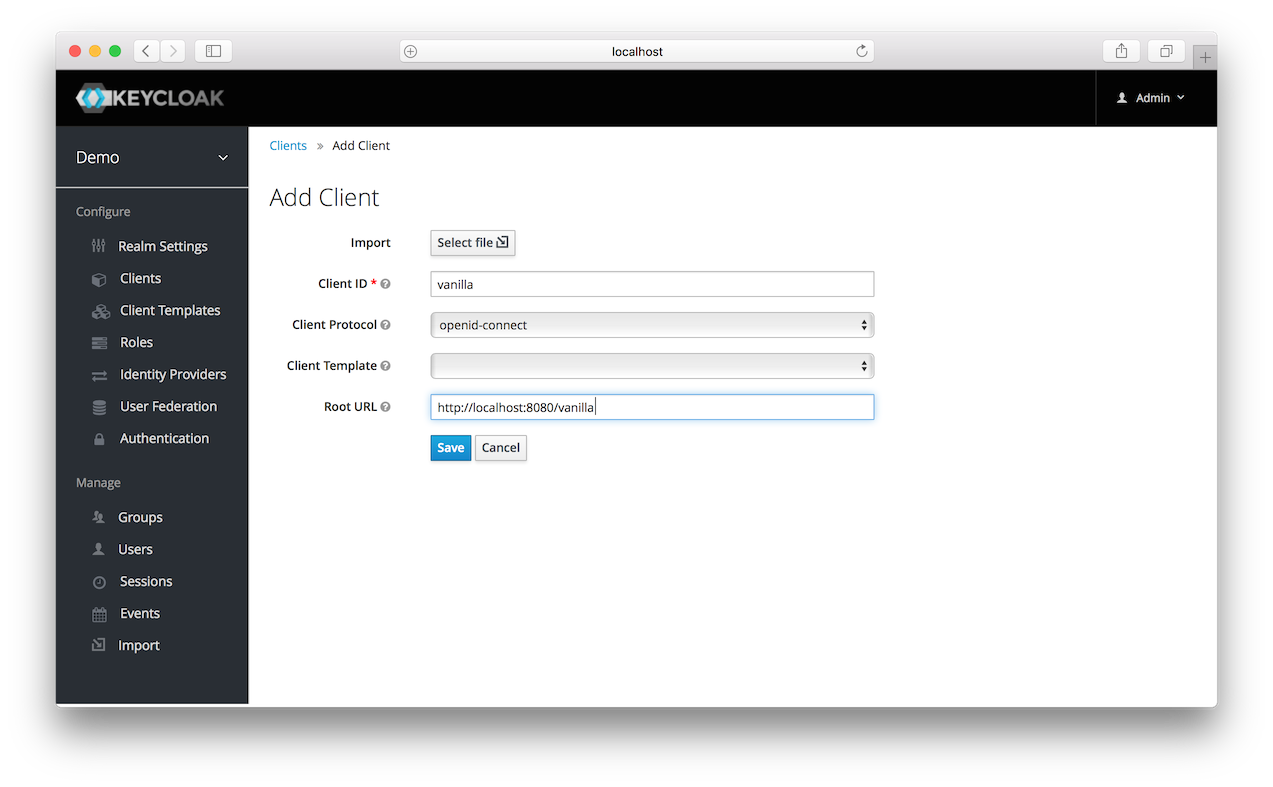
-
After clicking the
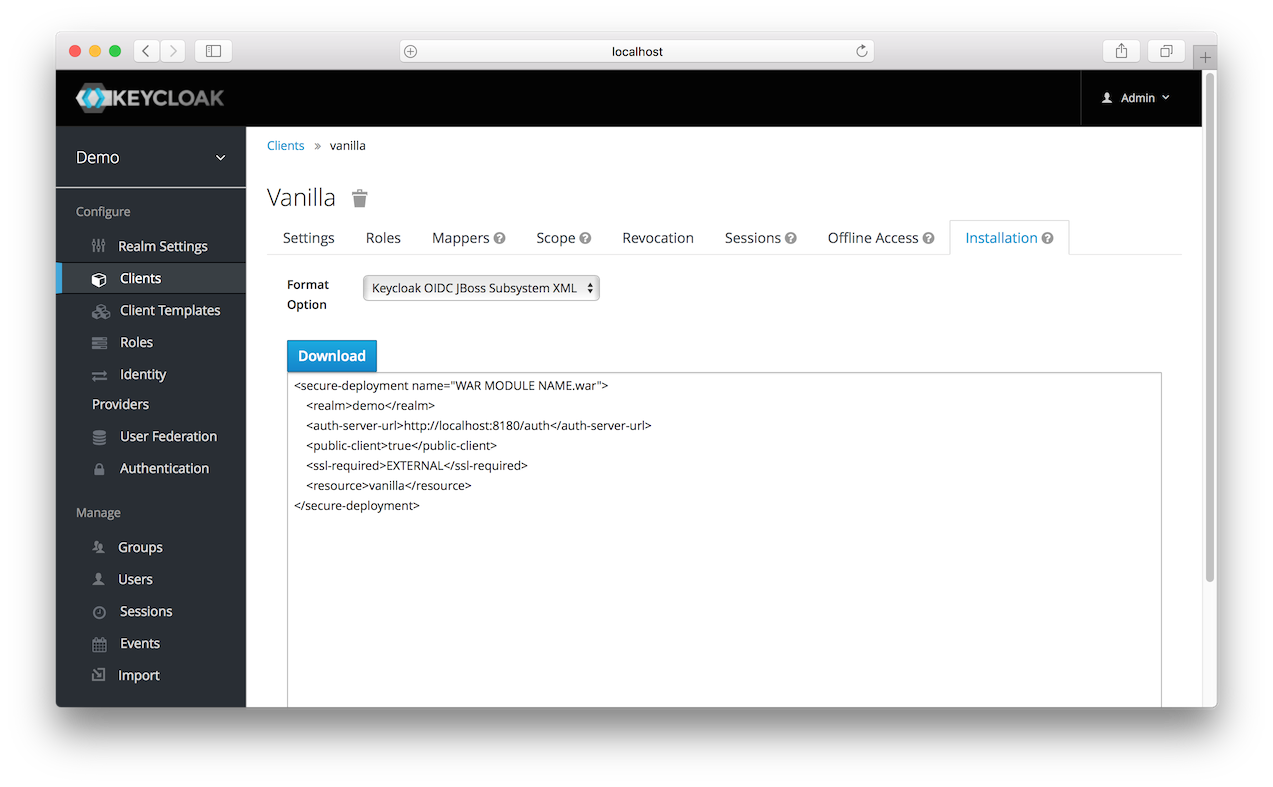
Savebutton your client application entry will be created. You now have to go back to the Wildfly instance that the application is deployed on and configure it so that this app is secured by Keycloak. You can obtain a template for the configuration you need by going to theInstallationtab in the client entry in the Keycloak Admin Console.Installation Tab
-
Select Keycloak OIDC JBoss Subsystem XML. An XML template is generated that you’ll need to cut and paste.
Template XML