There are a number of steps you have to complete to be able to login to Facebook. First, go to the Identity Providers left menu item
and select Facebook from the Add provider drop down list. This will bring you to the Add identity provider page.
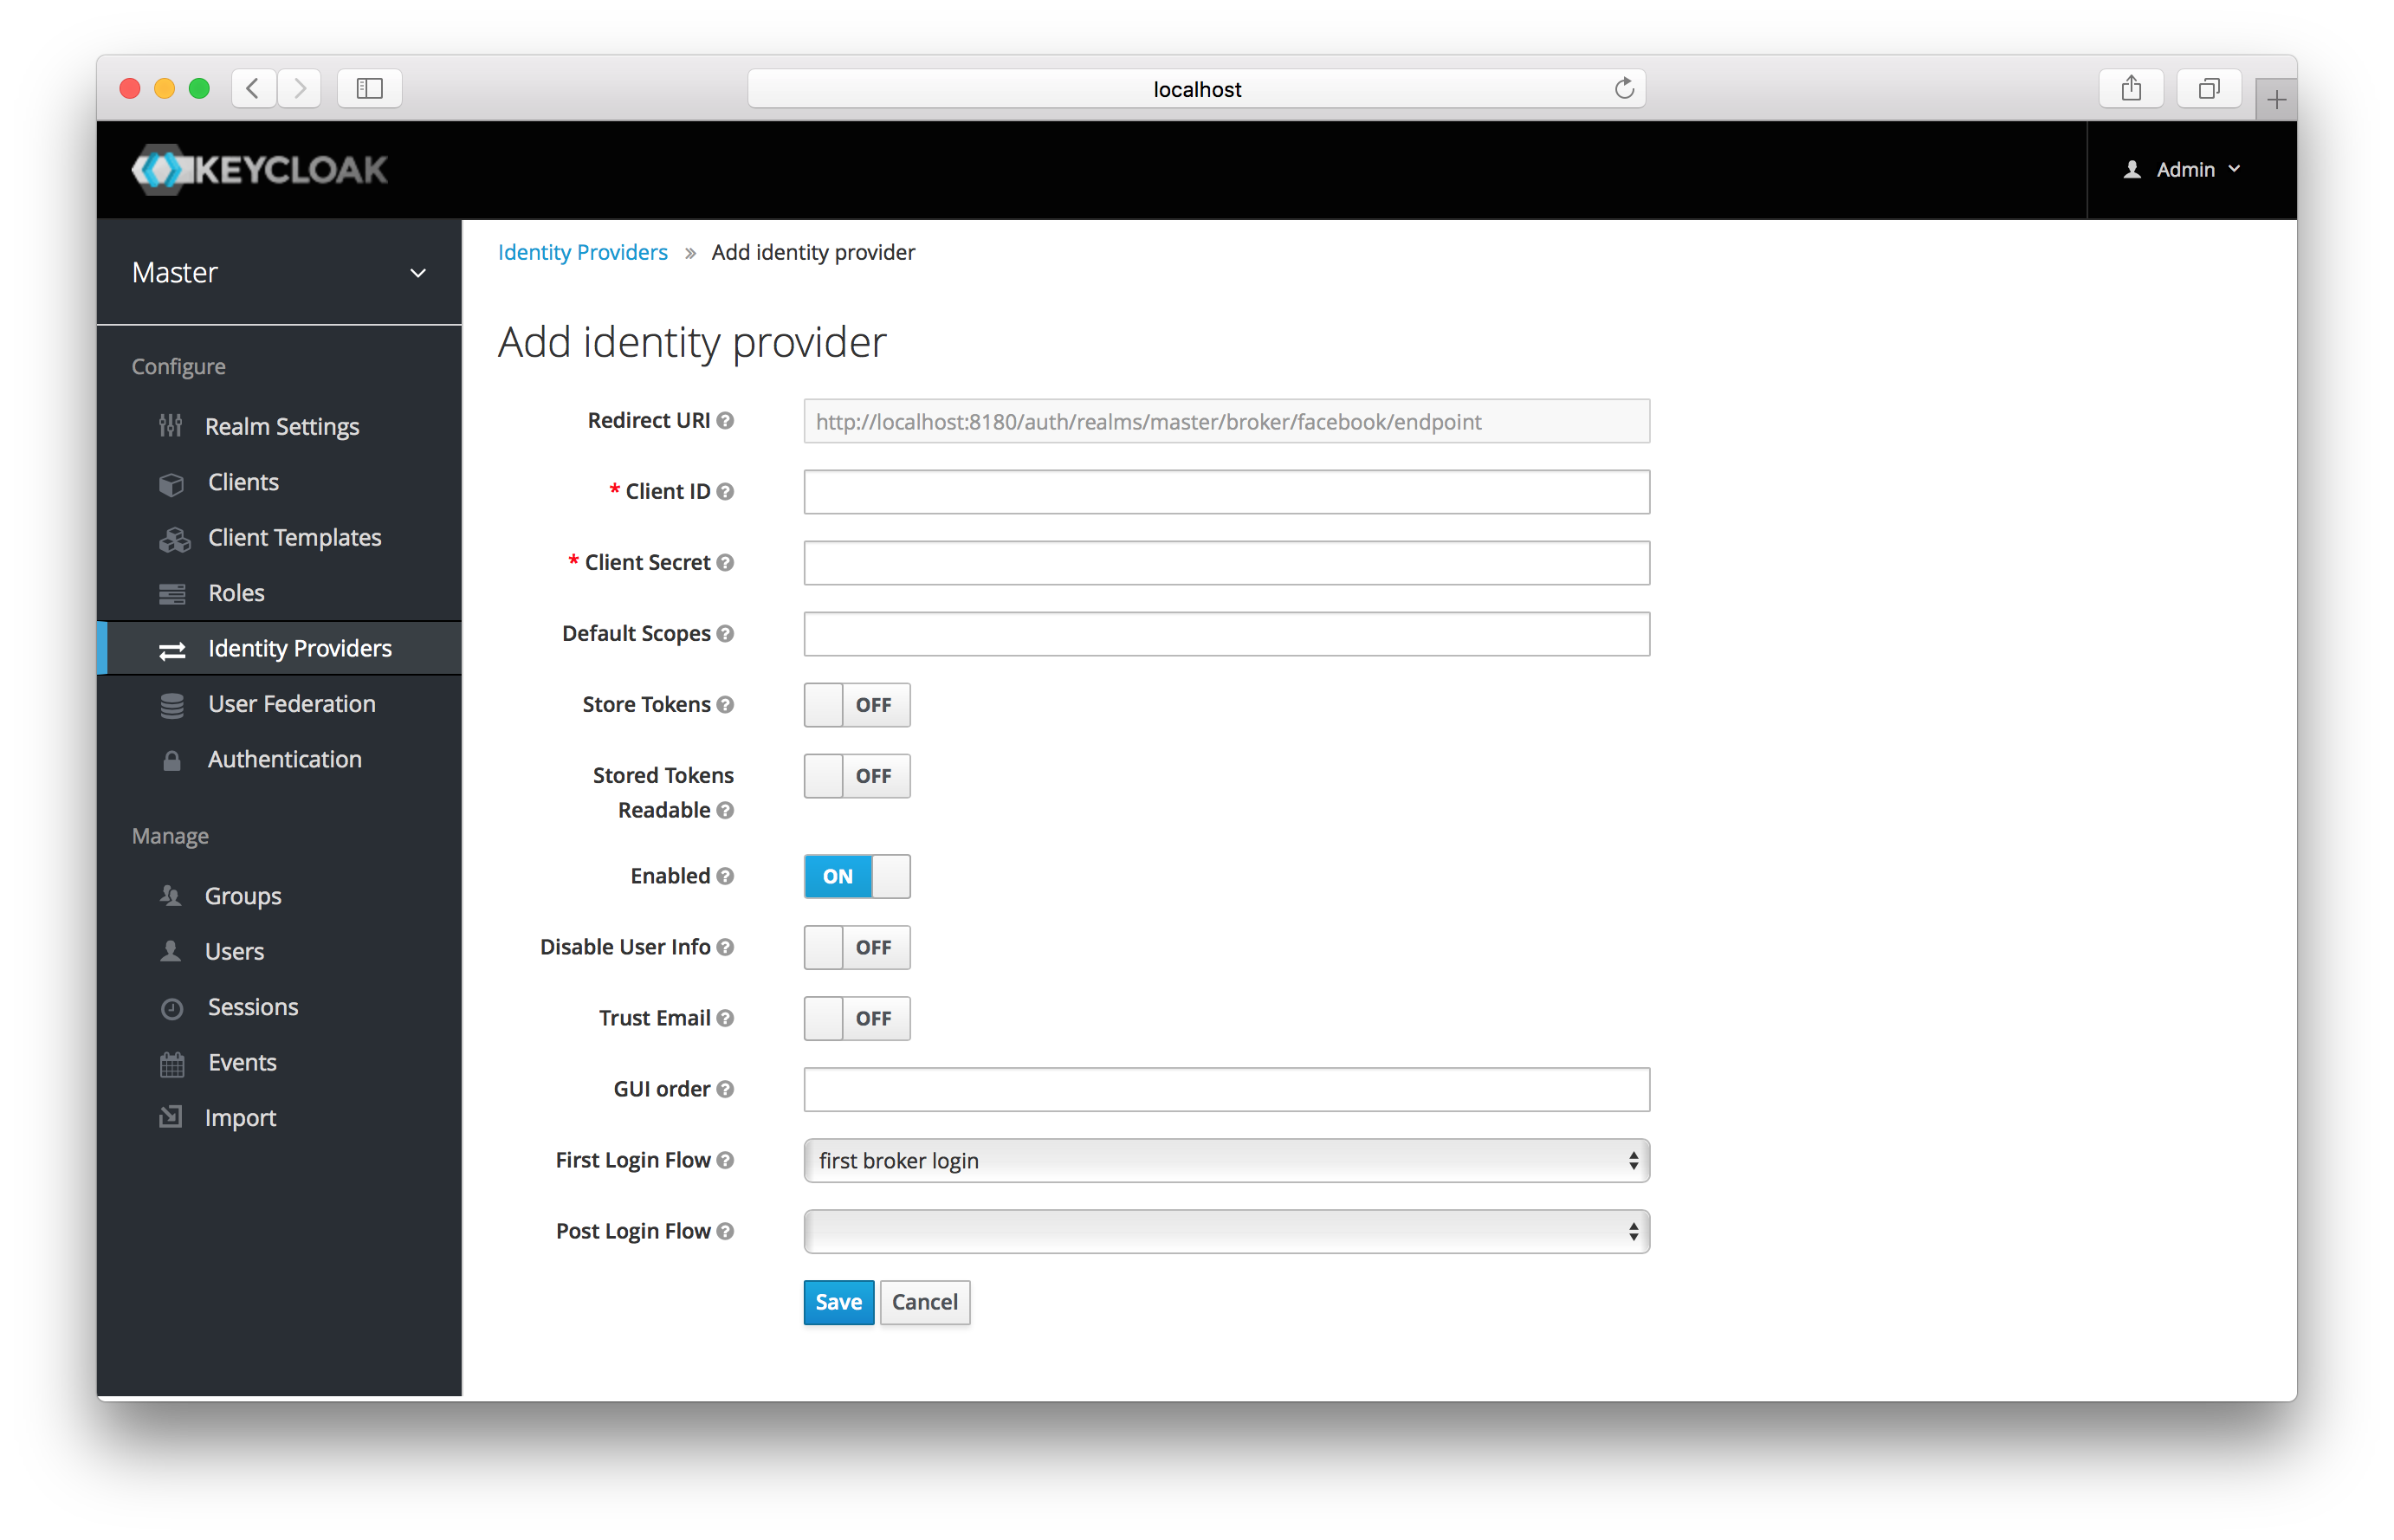
You can’t click save yet, as you’ll need to obtain a Client ID and Client Secret from Facebook. One piece of data you’ll need from this
page is the Redirect URI. You’ll have to provide that to Facebook when you register Keycloak as a client there, so
copy this URI to your clipboard.
To enable login with Facebook you first have to create a project and a client in the Facebook Developer Console.
|
Note
|
Facebook often changes the look and feel of the Facebook Developer Console, so these directions might not always be up to date and the configuration steps might be slightly different. |
Once you’ve logged into the console there is a pull down menu in the top right corner of the screen that says My Apps. Select the Add a New App
menu item.
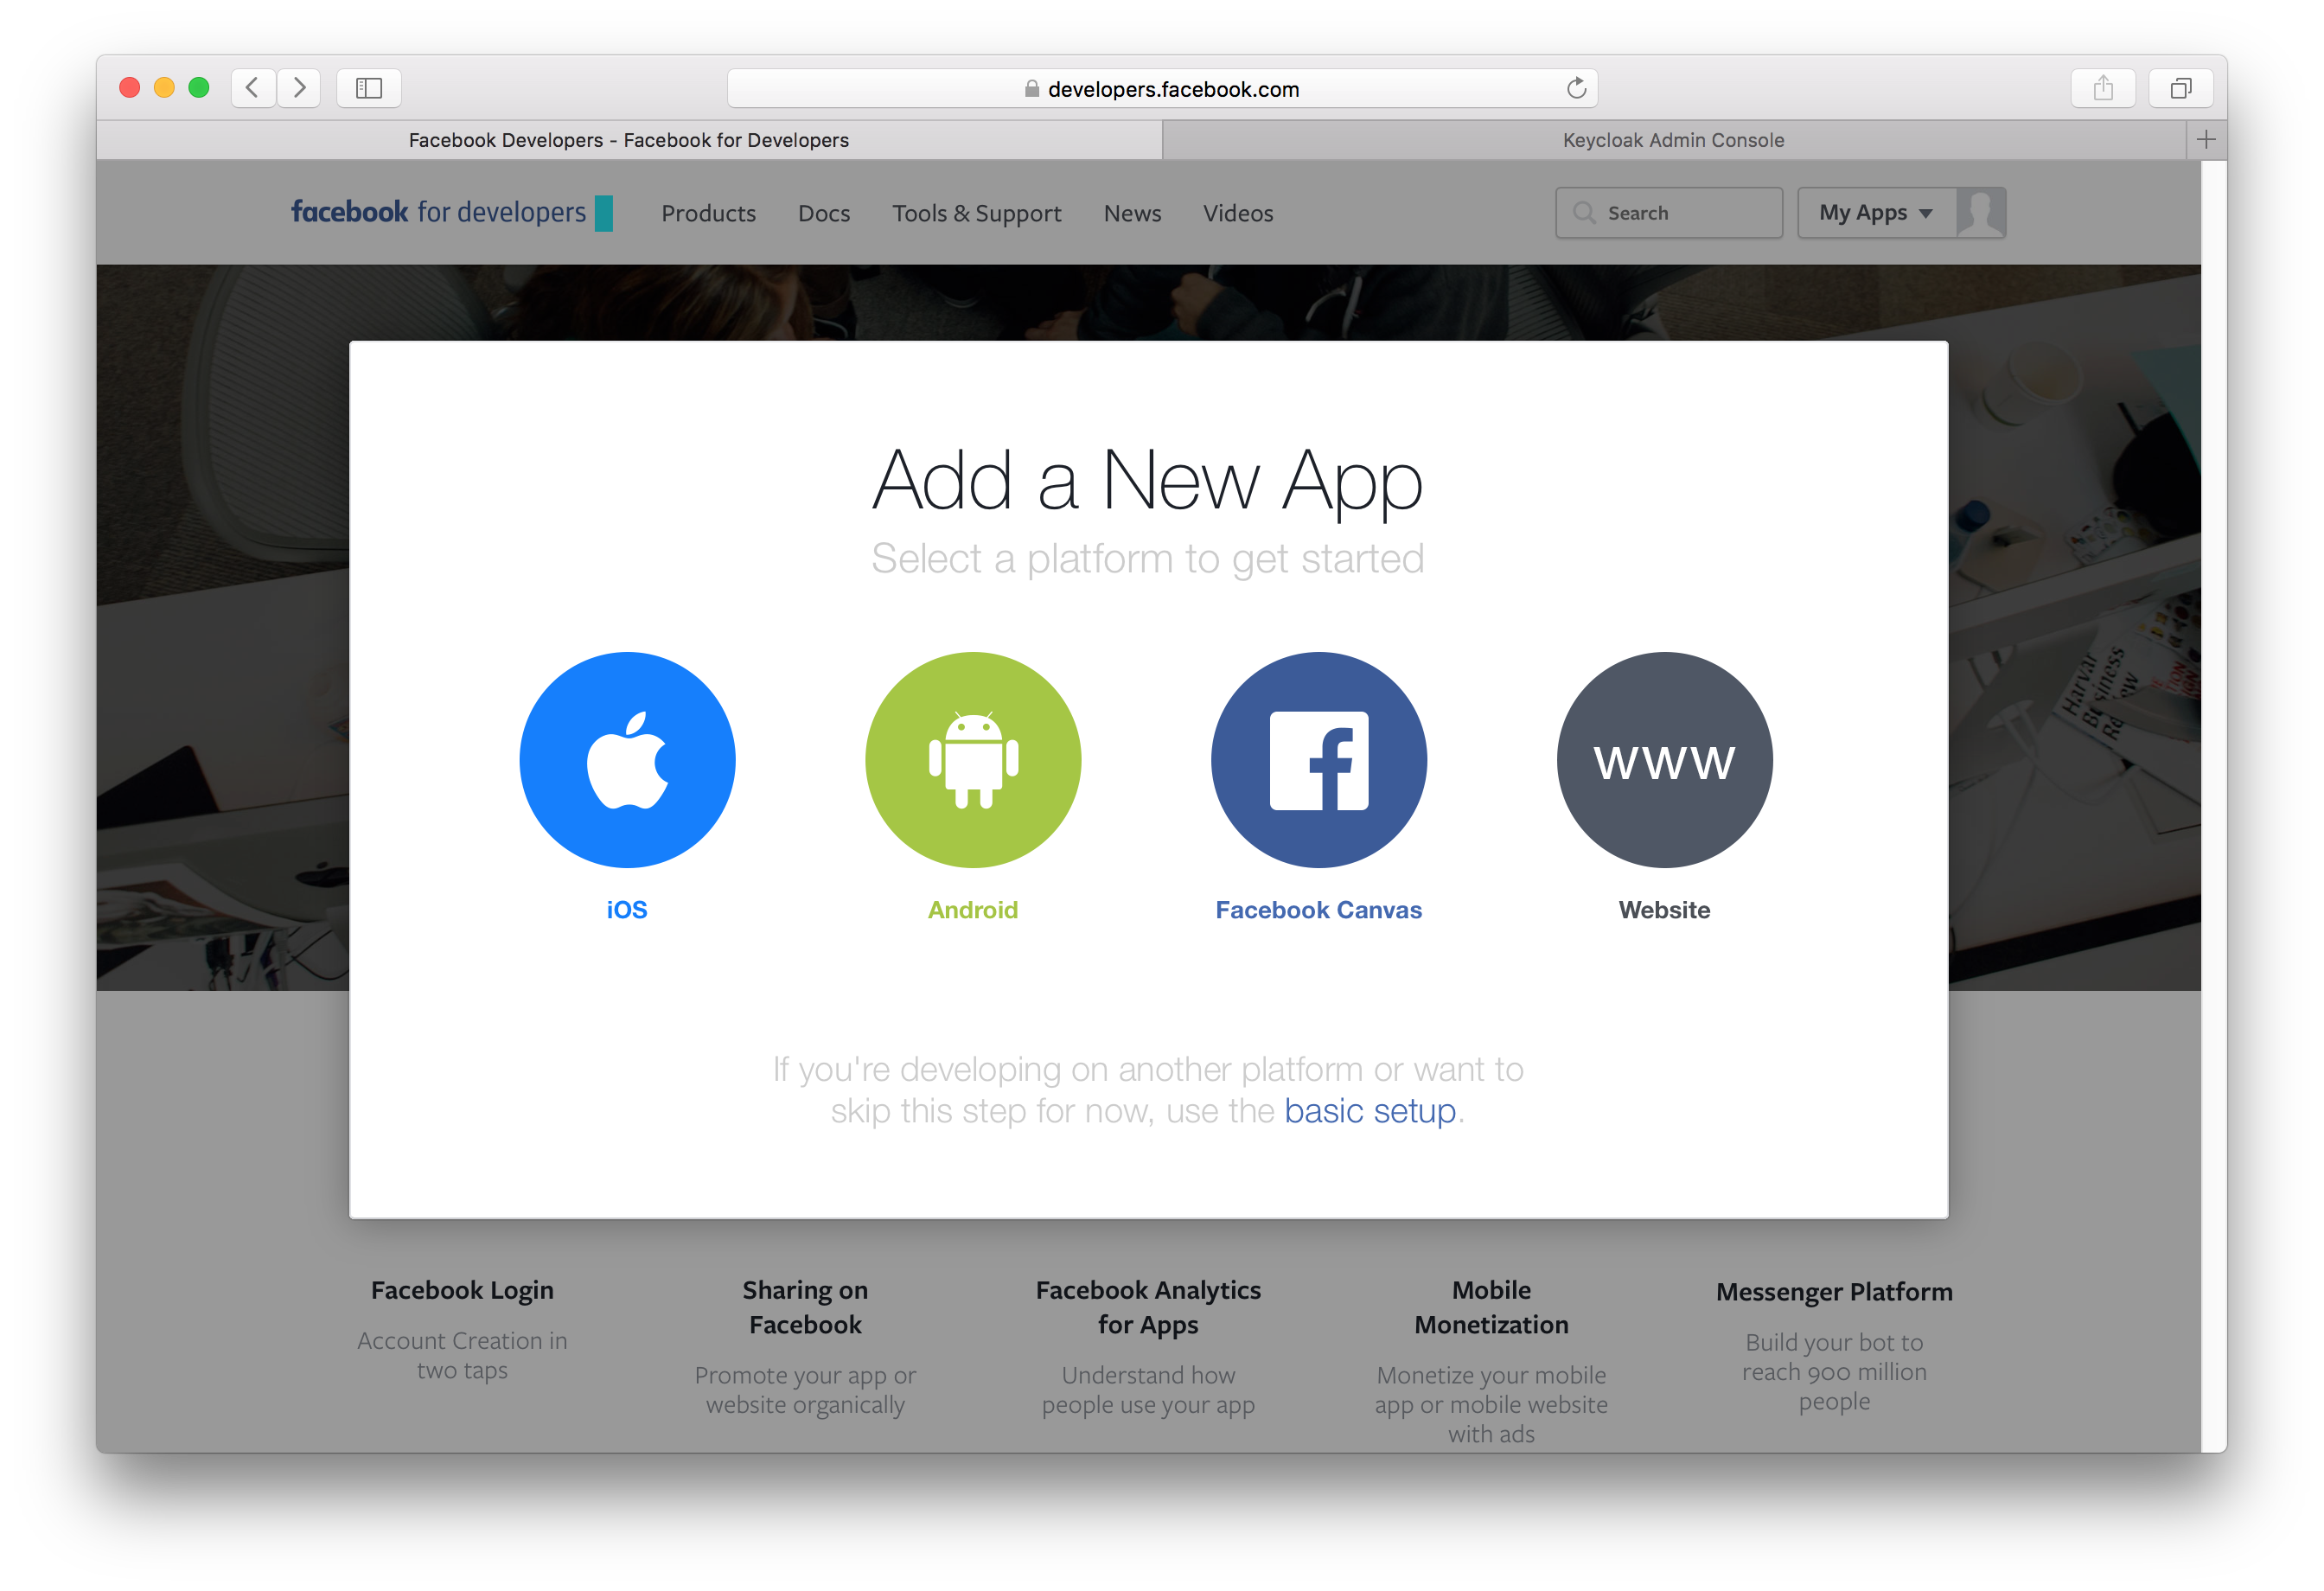
Select the Website icon. Click the Skip and Create App ID button.
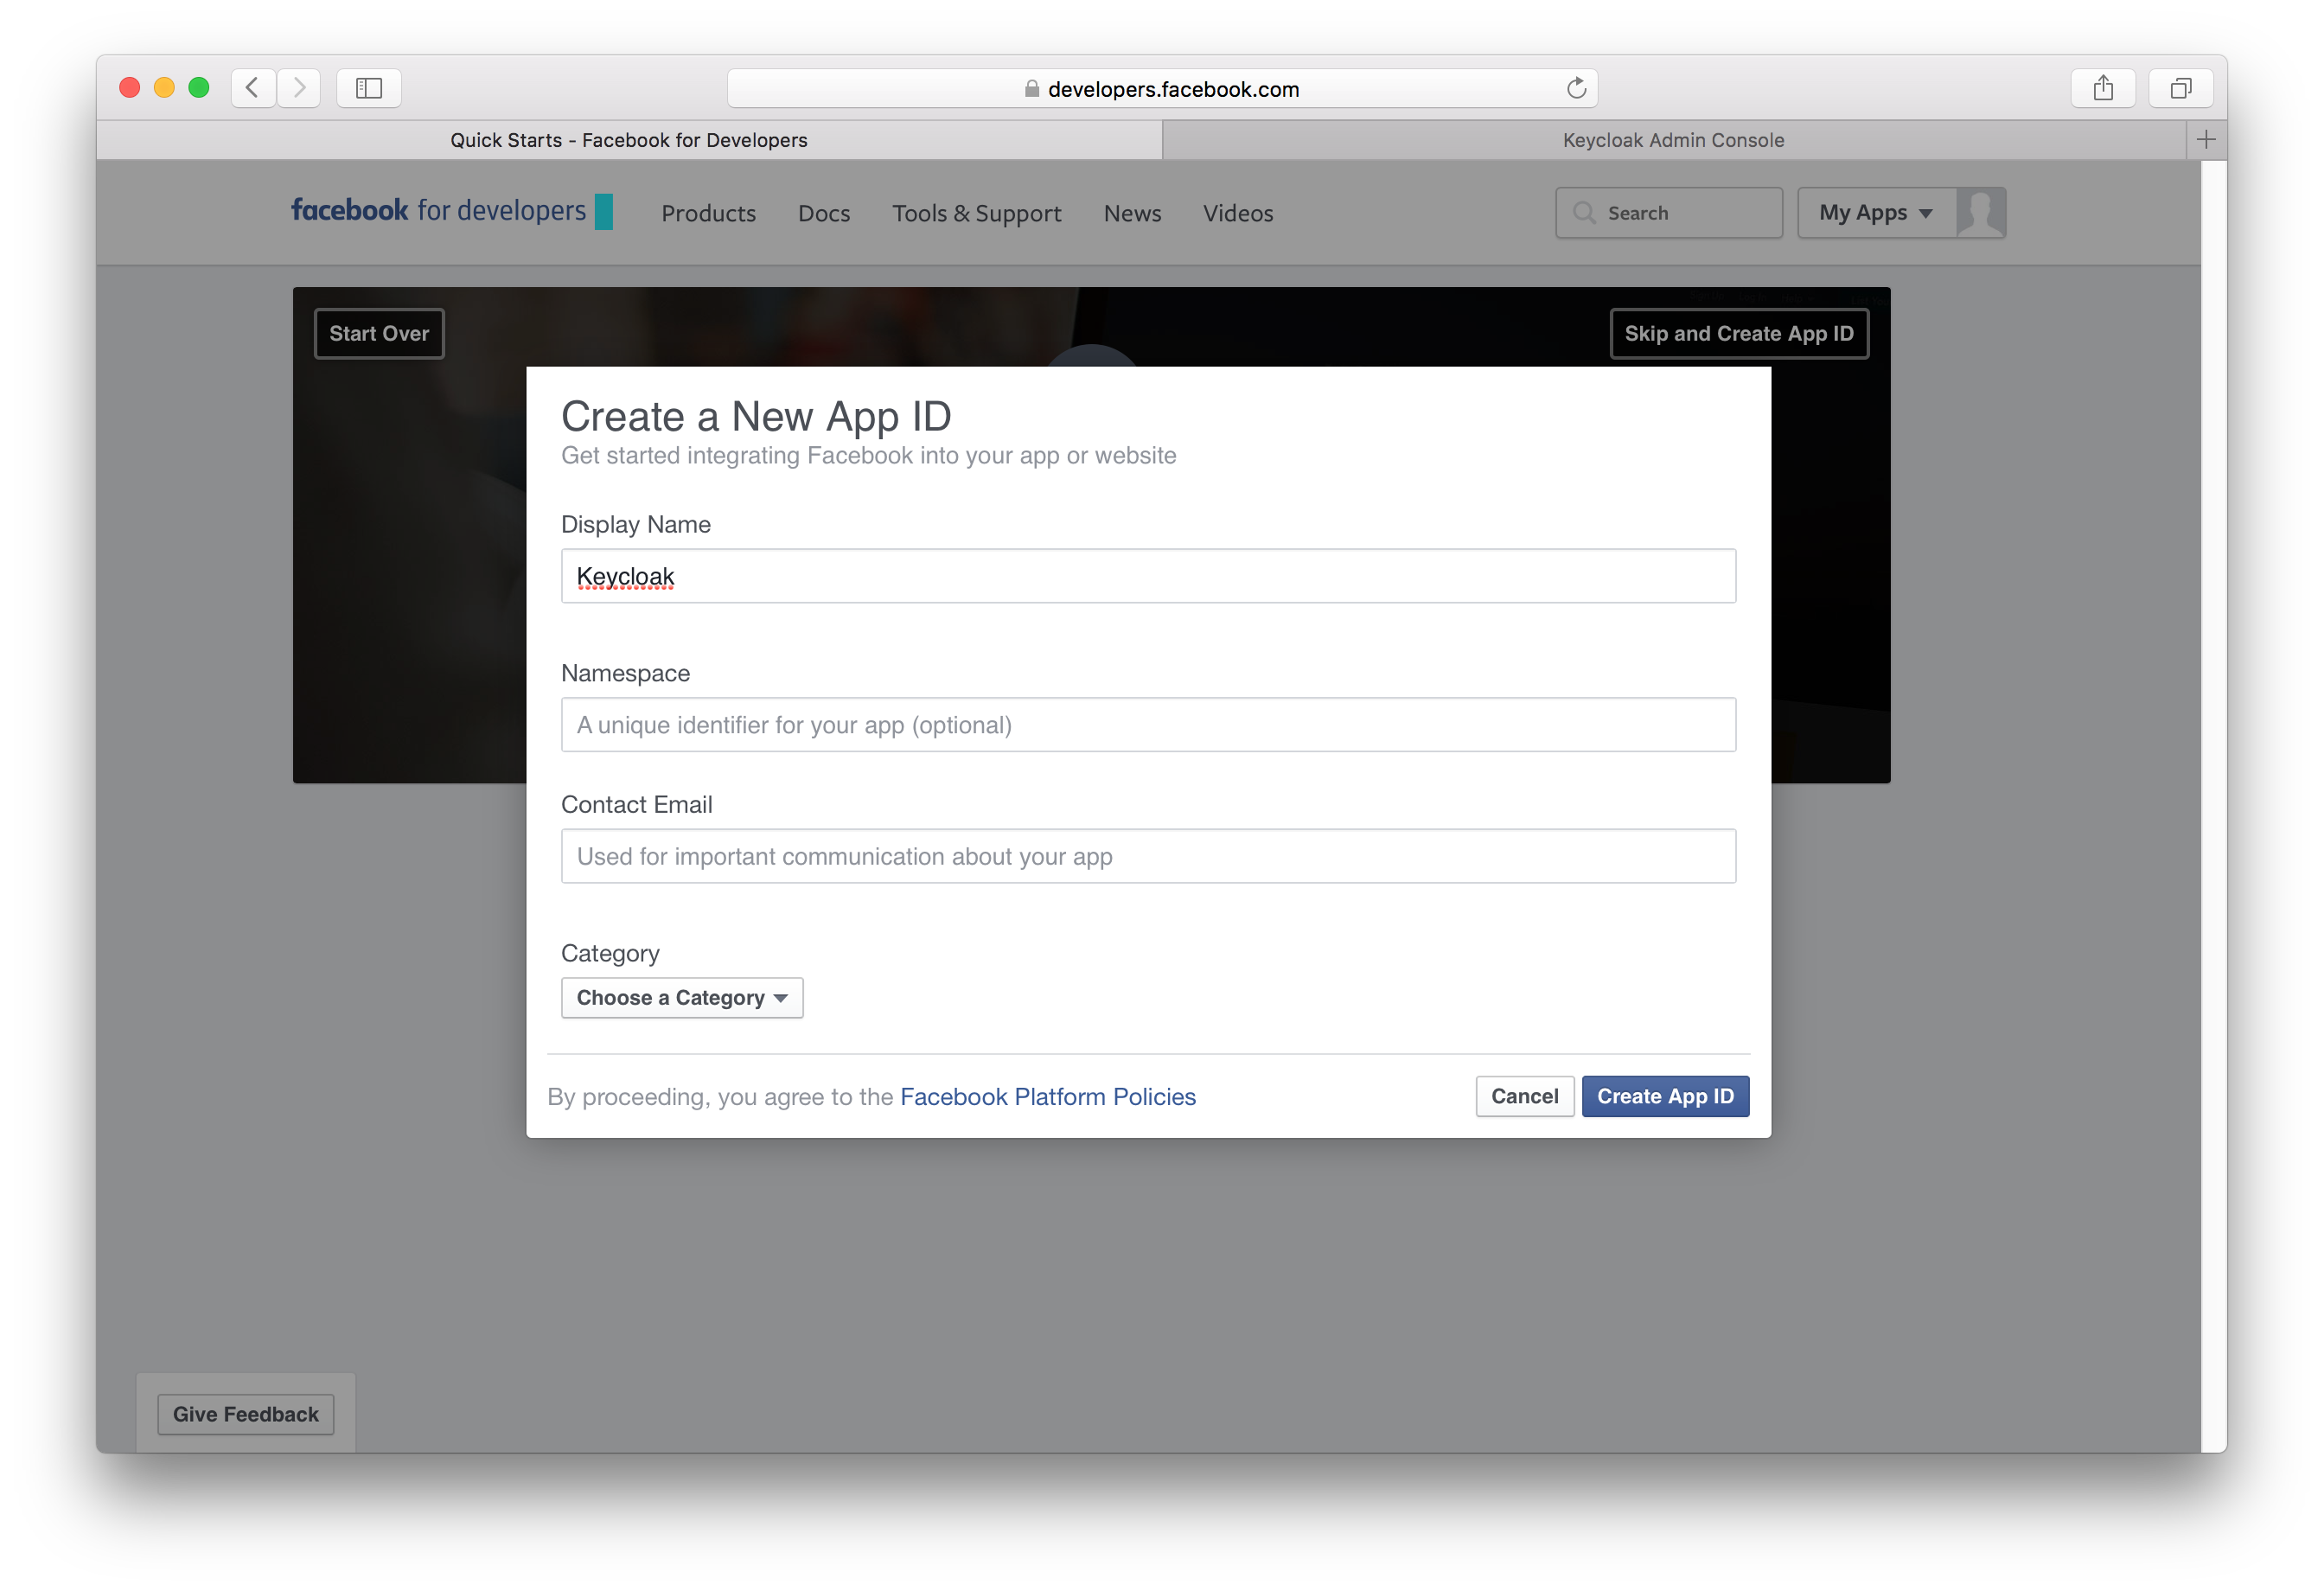
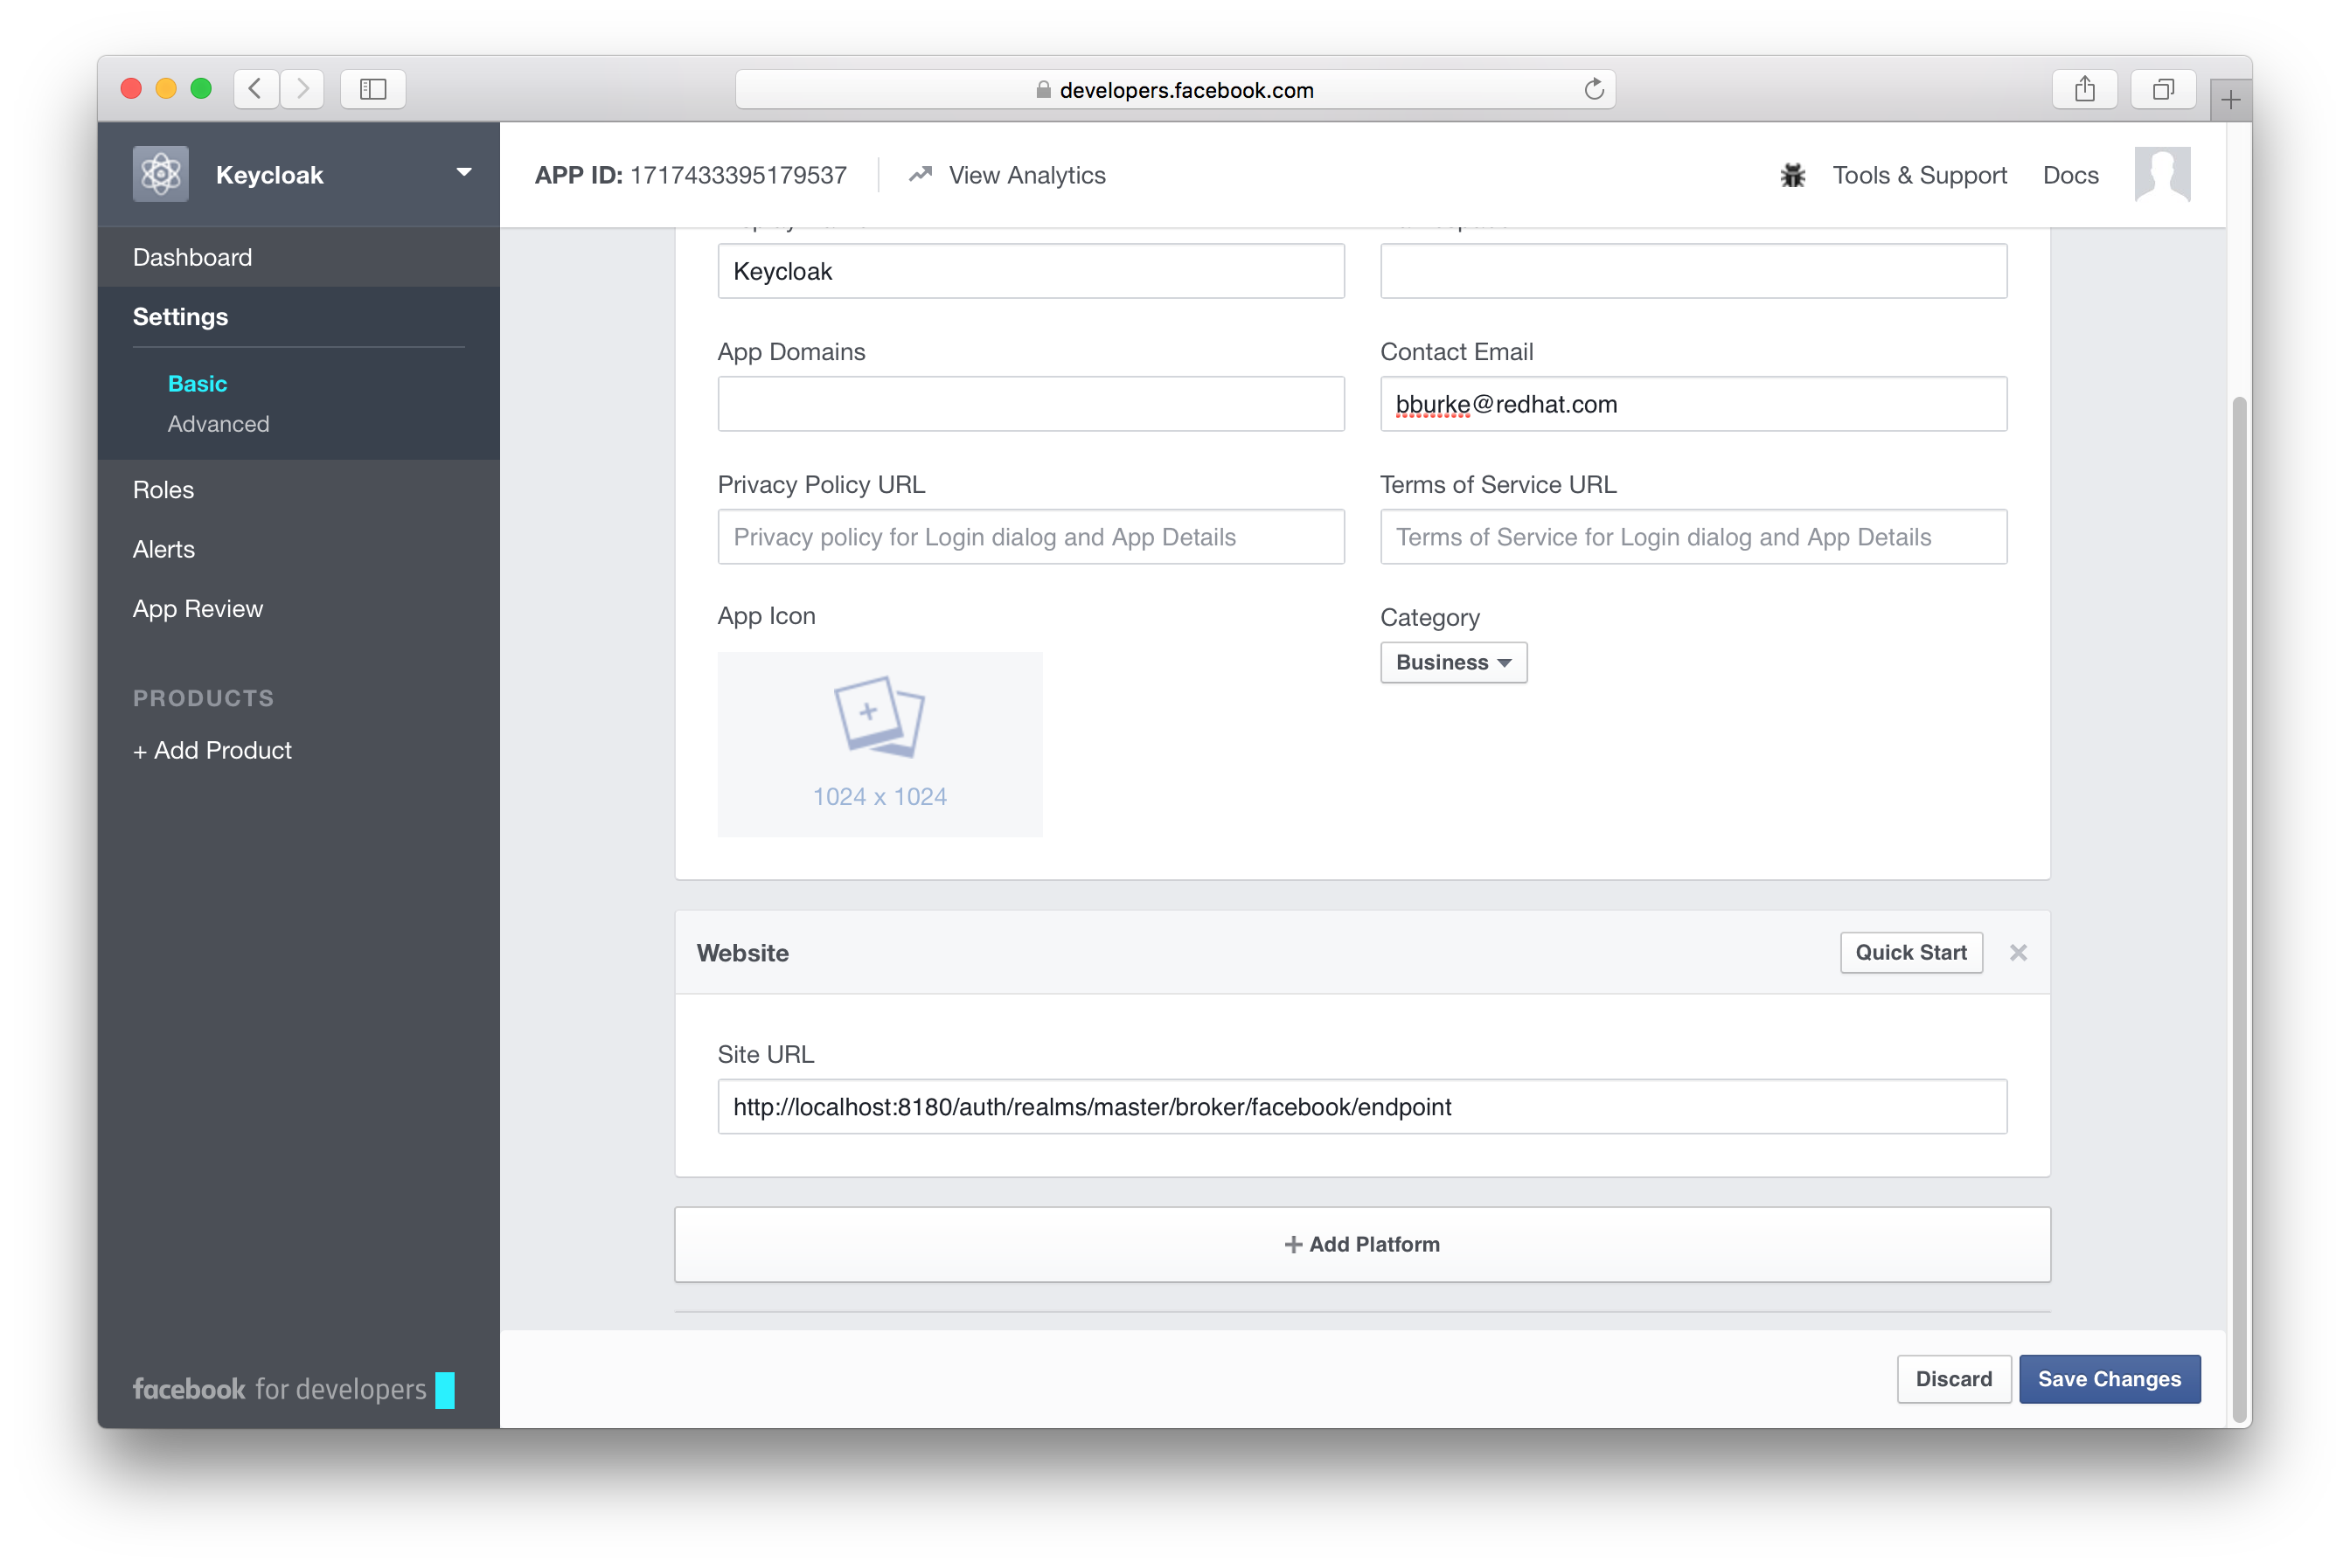
The email address and app category are required fields. Once you’re done with that, you will be brought to the dashboard
for the application. Click the Settings left menu item.
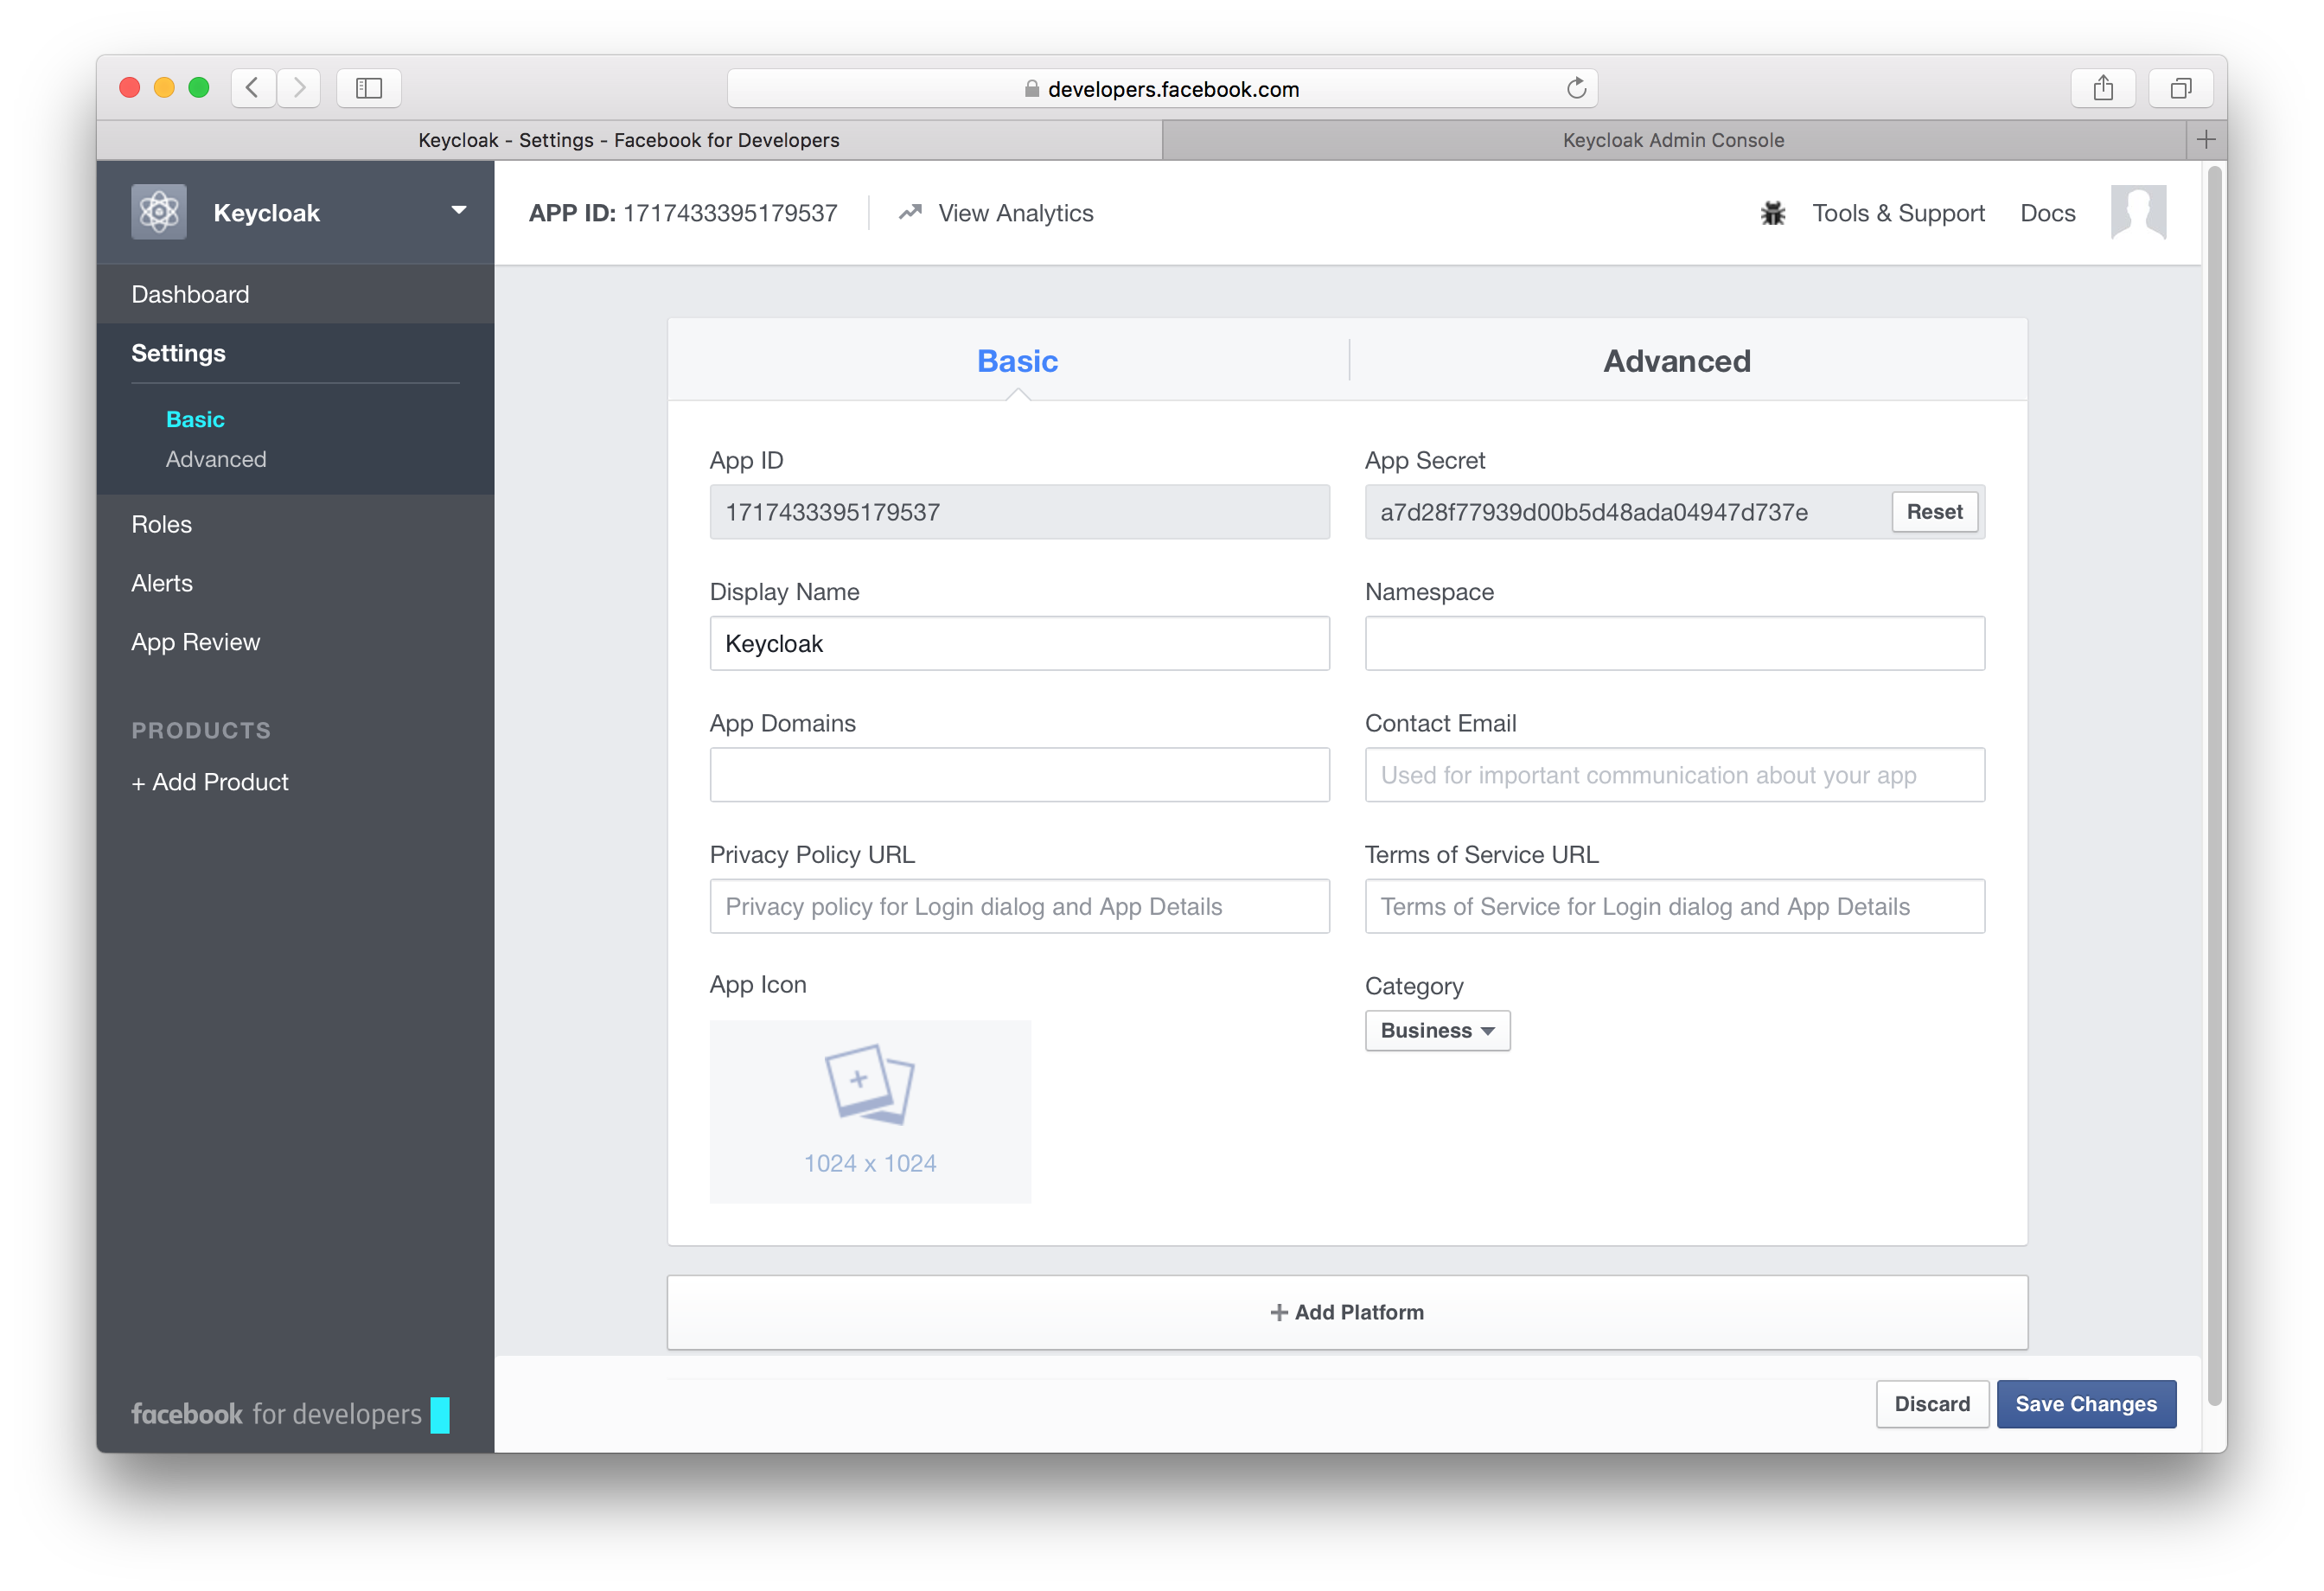
Click on the + Add Platform button at the end of this page and select the Website icon. Copy and paste the Redirect URI from the
Keycloak Add identity provider page into the Site URL of the Facebook Website settings block.
After this it is necessary to make the Facebook app public. Click App Review left menu item and switch button to "Yes".
You will need also to obtain the App ID and App Secret from this page so you can enter them into the Keycloak Add identity provider page. To obtain this click on the Dashboard left menu item and click on Show under App Secret. Go back to Keycloak and specify those items and finally save your Facebook Identity Provider.
One config option to note on the Add identity provider page for Facebook is the Default Scopes field.
This field allows you to manually specify the scopes that users must authorize when authenticating with this provider.
For a complete list of scopes, please take a look at https://developers.facebook.com/docs/graph-api. By default, Keycloak
uses the following scopes: email.